I like coffee. I like coffee more than most people in Boston. I like coffee a lot more than most people out in the world. When I travel for more than a couple days, it makes the trip better to have some good coffee along.
In 2018 so far, I’ve been to Munich, Krakow, Zurich, and Frankfurt. While every restaurant and bar in each of them had a reasonably maintained super-automatic espresso machine, none of them had easily available good (“third wave”) coffee. But I’ve been well supplied–my recent improvements to my travel coffee kit are really working out. I’d like to share with you what’s working for me. And I mean that literally: if we’re traveling together, or if we find ourselves at the same conference, come try a cup.
What’s important about good coffee? It should taste good. Very good coffee tastes like drinking liquid gold and the memories of a childhood Christmas. That takes practice, great materials, and some luck. Acceptable coffee tastes dark and sweet with a bright tang, like dried fruit. It wants neither milk nor sugar. To get this result, we need to watch several factors:
- coffee origin
- coffee roast
- coffee age
- coffee mass
- grind: total surface area
- grind: variance in volume (“fines” and “boulders”)
- grind age
- equipment cleanliness
- water purity
- water temperature
- extraction pressure
- extraction duration
That’s a lot! But we only need to watch a couple at a time. With the right tools, we can do a reasonably acceptable job. Moreover, we can accept that we’re doing this in a hotel room while jet-lagged, and cut ourselves some slack. On this most recent trip I forgot a thermometer, so was measuring water temperature by estimating heat loss over time. At that point there’s no need to be fussy about mass or timing. Several of the results were good; one was not so great. I think I rushed and used water too hot.
Start with decent coffee
There is an amazing bounty of wonderful coffee available for very reasonable prices in 2018. Go try lots of things and see what you like. Blue Bottle will sell you a single-origin subscription, and if you live in any American city there’s a local roaster in the hipster district, next door to the microbrewery. There are only a few things that really matter:
- The coffee must be freshly roasted. Hours don’t matter, but days do. After two weeks, you’ll lose some great flavors. After four, you’ve lost most of them.
- The coffee must not be too roasted. You should still be able to taste a regional difference. If you can’t tell, after six months of practice, whether this is from Ethiopia, Sumatra, or Colombia, it’s been burnt. Trader Joe’s burns most of their coffees. Their “ultra-light” roast, Caffe Lys, is a medium roast that’s quite acceptable, and $7/lb. No “tears of lys” included, they swear. Their “Joe” is surprisingly good. Most of their other coffees are ash.
I happen to really like East African coffee, but I’m happy to enjoy almost anything. This trip I’m traveling with a Colombian single-origin from Counter Culture, in its ordinary roll-top bag. I stick it in a ziploc mostly so it doesn’t pick up the flavor of my laundry or my toiletry kit.
If you’d like an amazing start, try Counter Culture’s “Hologram” blend. It’s reasonably priced, can be brewed well as espresso, drip, whatever, and when you nail it you will know. This is the coffee that showed me how wonderful coffee can be.
Ready it for brewing
You have to grind coffee freshly. Once it’s ground, it loses its flavor within a few hours. Some people claim to be able to taste minutes of delay. Maybe–luckily not me. That means you want to grind only the right amount.
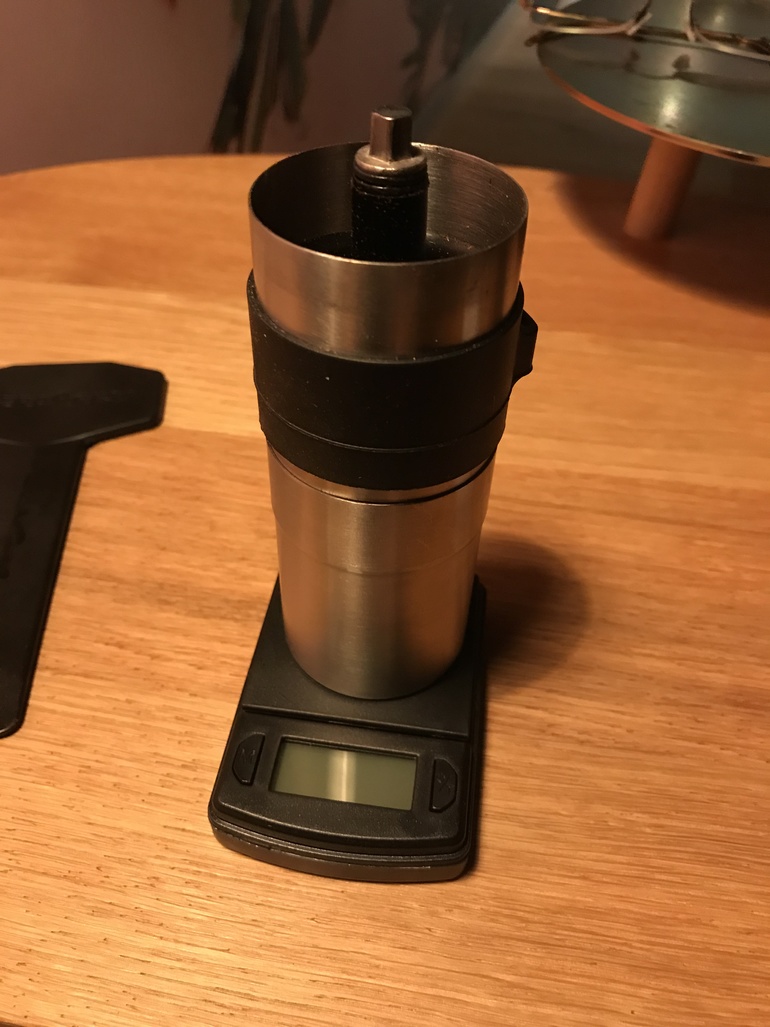
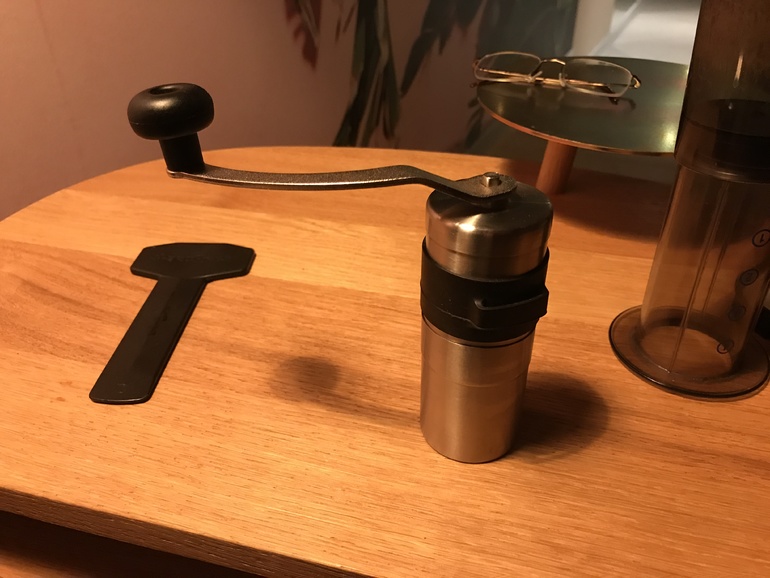
Get a small scale and a Porlex Mini grinder. The Porlex has a number of advantages. First, it fits inside a travel mug. Second, it is machined with obsessive care; it produces very reliable results, and doesn’t get out of calibration from being in checked baggage.
Weigh out 15g of coffee. You’re later going to adjust this as you decide you like your coffee stronger or weaker. If you lose your scale, 15g of peaberry beans is just to the top of the internal dividers in the Porlex top. Now grind your coffee:
It’s only about 200 strokes to a grind about as coarse as table salt. Stop and check after ten strokes, and adjust. Incidentally, this is a much kinder device for your office-mates than an electric grinder, and not much slower. With a little Stockholm syndrome, you can even decide you like the ritual of hand-grinding. Now you can put the coffee into your Aeropress:
Water
Properly brewing coffee requires water at between 200 °F and 205 °F. How can that be, you say, when a percolator works at 212 °F? Well, part of the answer is that it produces percolated coffee. That’s why it tastes that way. Part of the answer is that the coffee itself was at room temperature until steam or water hit it, and is rarely over 180 °F even after five minutes of percolation. Similar story for large batches of drip coffee.
Therefore, we’re going to heat our water to hotter than 205 °F, and let it cool back down a bit with a little time and a little pouring distance. We have to compromise on boiling: we’d like a little extra sanitation, we don’t want to lose the oxygen dissolved in the water, and much of the time we’re at altitude where boiling density sanitize quickly anyway–but does lose the dissolved gasses.
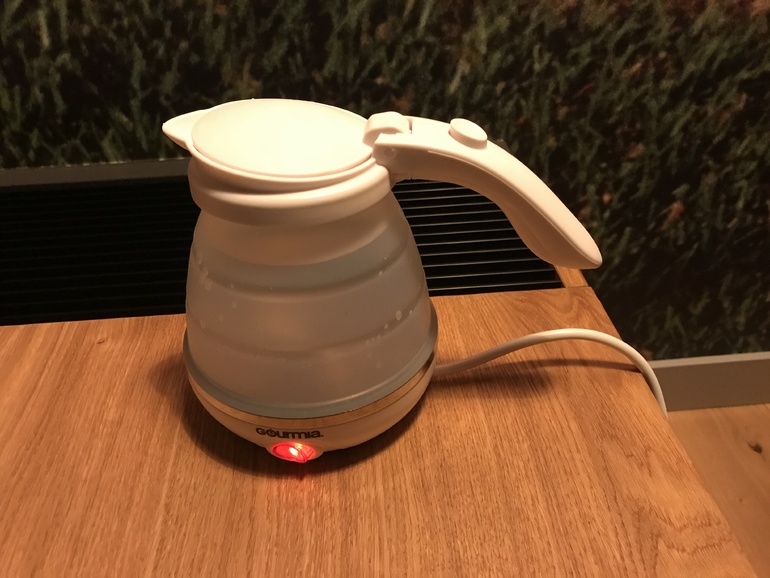
Many hotels have a way to heat water: a kettle in Europe, a little coffee-maker in the US. I’m always suspicious of cleanliness on these, so I travel with a tiny folding kettle:
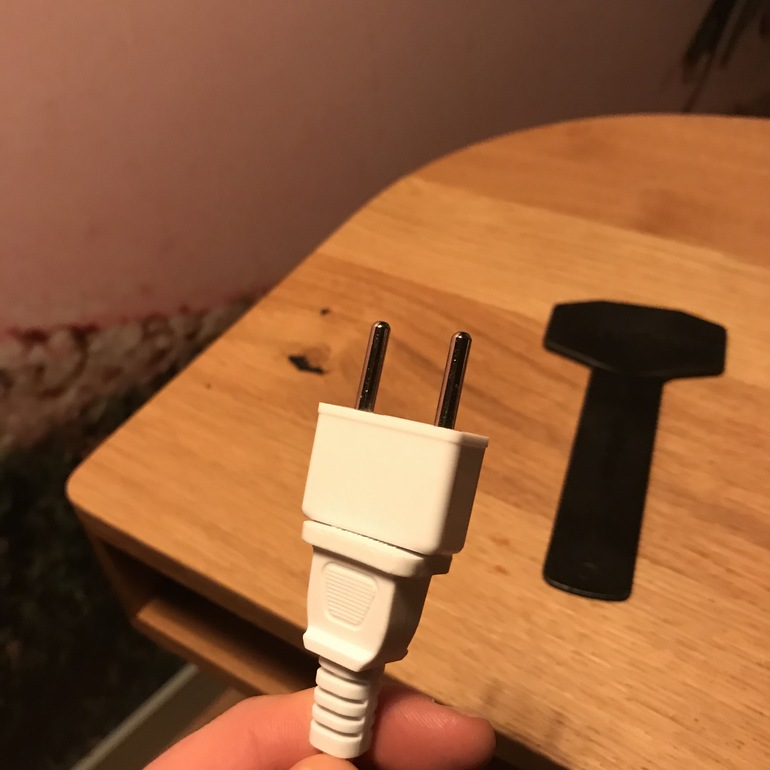
It’s body is silicone and steel, and it runs on 110–240V. You just need an appropriate adapter for the local plugs:
A word about plugs and hot water: this kettle’s going to pull something like a kilowatt. Unlike an immersion heater, the kettle has room for some safety circuits. If you boil it dry, it probably won’t try to kill you. But: think about the current handling capacity of whatever you’re plugging into. If a European outlet is recessed in a hexagonal slot, or an American outlet can’t fit a wide prong, that’s not an accident. That’s an electrician trying to keep you from burning the building down. And wear pants and shoes. We drink coffee for stimulation, but boiling water on bare skin is a little too stimulating. Also remove computers, phones, and other electrical equipment from the area where you’re working.
The kettle will bring the water to local boiling. Anywhere above 3000’, that’s already brewing temperature. Pour it right in. Below 3000’, stick a thermometer into the kettle and wait for it to hit 205 °F.
If you’re someplace with sulfurous water, like Florida, it can be worth it to use bottled water for your coffee. Some people will tell you to do it everywhere, but I don’t see the need. Can you taste it? Yes, of course. Does it overpower the coffee? No. And if you’re traveling, it’s hard to stay properly hydrated on bottled water alone.
Putting it all together
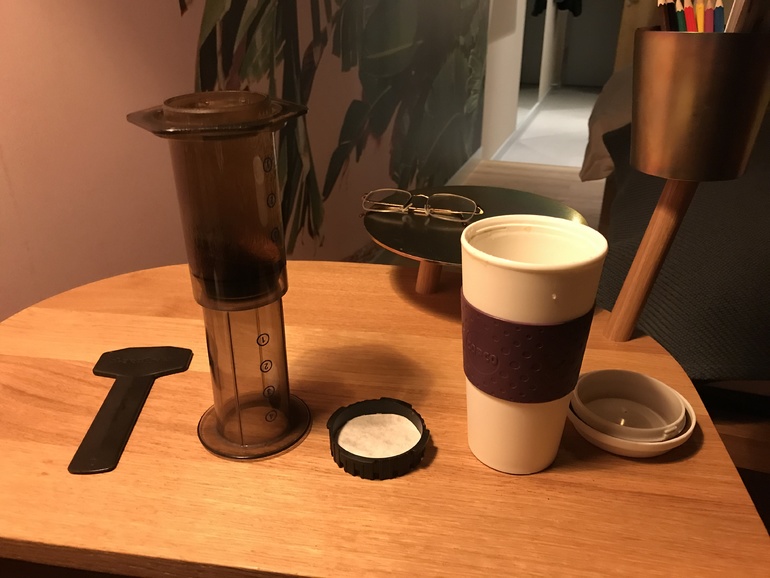
Now you want to put the water and coffee together in your aeropress. There are a lot of ways to do this. To keep things neater, and to keep finer control on extraction duration (i.e., to keep water leaking out from changing the math) I brew “inverted”: the plunger is on the bottom, with a brewing cylinder above that.
For some good starting tips, you can use the “Aeropress Timer” app for your phone. It even has a Watch app for the egregiously over-provisioned. The basic steps are simple:
- The ground coffee has been resting for a moment in the aeropress, which is assembled so the floor of the brewing chamber is at the “1” mark on the side.
- Pour in water to reach just under the “2” mark. This should be about 50g. Stir vigorously. This water is to be pulled into the coffee grinds by osmosis, pushing out CO2. Stale coffee won’t have CO2 in its voids, just air, but for fresh coffee it matters–otherwise the CO2 bubbles keep water from getting in, we don’t get wet oxides, and we get really weak coffee.
- Wait about 30s.
- Pour in water to reach to the “4” mark. This should be more than twice the water you used before. Stir for ten seconds.
- Wait about 60s. While you wait, put a paper filter in the cap. Paper is important; metal filters don’t get clean enough without soap you won’t bring, and they don’t absorb some parts of coffee that are apparently quite bad for your heart. A French press once in a while won’t kill you, but use paper or cotton filters by habit.
- Cap, lock the cap, flip onto your cup, and press. Pressing should take about 15-25s.
- Finish the press with a good firm squeeze, compressing the grounds into a puck.
- Eject the puck into the trash. Wash all the parts in the hotel bathroom sink. If you keep them clean now, they’ll be clean later. If you let oil accumulate, they’ll taste nasty until you get them home.
Now you can add water from the kettle directly to the cup to meet the volume and dilution you want, cap the mug, and drink. Enjoy.
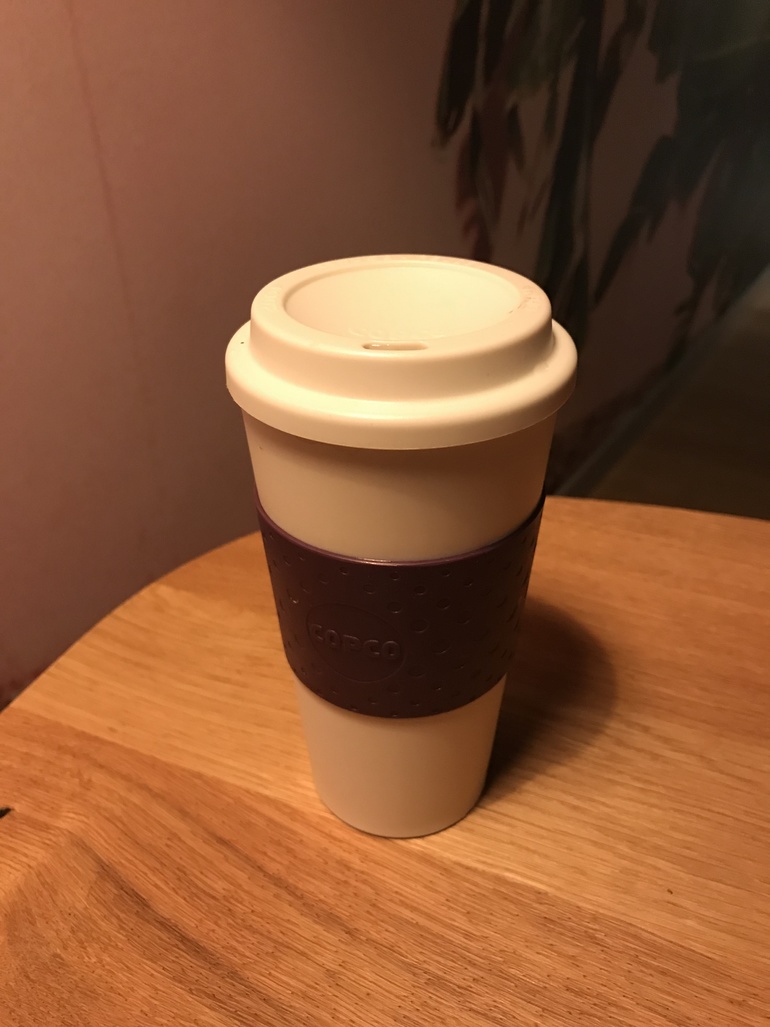
Oh, one more piece of equipment: I bring a cheap Copco travel mug:
It’s indestructible, cleans well, doesn’t leach anything particular into the coffee, and has a locking lid. That’s saved some laundry and at least one computer.
Equipment list
- Folding kettle
- Porlex mini grinder
- Aeropress
- Counter culture coffee
- Copco mug
- Travel scale (the DEA may put you on a list for buying this; sorry)
- Bag that holds all but the kettle
- Power adapter
- Thermometer
